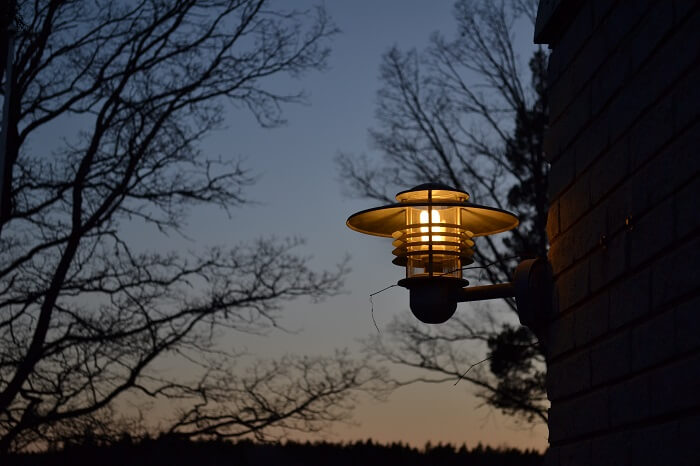
Although outdoor lights are functional, practical, and decorative, it is quite hard to keep them shiny and long-lasting, not to mention the cost of repairs. Luckily, we’ve prepared a quick and easy guide for you to keep the lights shining for years on end. Without further ado, let’s learn how to waterproof outdoor lights!
See also:
Contents
Preparations Before You Start
Before starting this, you’ll need to prepare these items:
- Water-resistant silicone caulk: It’s a material that fills and seals joints between materials. Most caulks are acrylic, latex, silicone, or a mix of the three substances. Caulks are tight enough to avoid bar dust, insects, and especially water from leaking inside.
We advise against using sealants for this kind of fix because of the main difference between caulk and sealant.
More specifically, the latter holds up better in spaces prone to stretching, while the former remains rigid when dry, so it’s more fitting for this occasion.
There are also plenty of caulks types, so outdoor waterproof fishing lights will require a different kind of special caulks from the one you use for outdoor waterproof led lights.
Aside from waterproofing electronics, using caulk to seal cracks between buildings and other constructions is another good idea. If you don’t use up the entire tube this time, you can save it for fixes in the future!
- A damp cloth: You’ll need this in many steps related to cleaning, as damp cloth will provide the caulks with a plane that helps it stick better and longer.
- A drop cloth or an old blanket: Similar to other installation jobs, laying down a drop cloth will help you catch any spillages.
- A step ladder: In case you’re waterproofing a slightly high light. Use rubber end caps for protection if you fear pressing the ladder on the wall and floor may leave marks on them.
- A stack of paper towels: Use them to wipe off stray caulk or any other mess you may make during the process.
- A utility knife: This is not for cutting anything, so you don’t have to prep the blade too well or sharpen it too hard. Rather, utilize the blade to set the caulk in the right place and avoid it from falling out.
- Prepare a small bowl of water to dip your fingers in.
Now all you need left is care, precision, and courage. Let us begin!
How To Waterproof Outdoor Lights In 5 Easy Steps
1.Clean Your Outdoor Light First:
Similarly, you must provide a clean surface for your material to stick on with other fix-ups. Caulk requires a dustless and debris-less base to work, pull out the damp cloth and work around the area.
This way also helps to increase the lifespan of the seal, as you don’t have to replace it often if there’s no filth before caulk is applied.
2.Lay Out Your Prep:
Before you do anything, layout the groundwork so you will have an easier job cleaning up later; spread that drop cloth under your stepladder if anything falls. You can’t spillage no matter how fast you are!
Moreover, you’ll need to prep a stack of paper towels to clean up any loose caulk blobs. If wiping doesn’t work, utilize the knife to steer any caulk back to its rightful spot.
And last but not least, a bowl of water to dip your fingers into should be placed somewhere you won’t step on or knock over easily. Now with all those materials, let’s begin!
3.Start Waterproofing The Fixture:
Once you’re done putting the caulk in your trusty applicator gun, start planning out the positions to place the caulk. As a reminder, you can always use a pencil to map out the exact spots and limits.
If you don’t know where to start, try looking at the base of the light and the backplate. There can be small gaps or openings around that area, and water can seep in to affect your light’s quality.
Subsequently, stick to your plan and remain patient while applying the caulk. It would be best if you try to apply it in one steady stream and keep your utility knife in the other hand. If you start to shake and the flow of caulk goes astray, insert your knife to set the caulk back.
Don’t forget that gravity exists, so make sure you’re working from top to bottom.
4.Smooth Out The Caulk:
After putting the caulk in the right position, proceed to dip your fingers into the bowl of water and smooth out the caulk to give it a finishing look. Your fingers need to be wet to ensure that the caulk doesn’t stick to your finger and ruin the fixture when you move your hand.
Be patient with this step, as it provides assurance and water tightness.
5.Clean-Up:
Finally, you’ve pretty much come to the end of the process at this point! Just make sure you get all the spilled caulks around the working space, and keep an eye on the caulk frequently after application. There should be plenty of care instructions on the caulk tube for you to follow and extend the application’s lifespan.
Removing and reapplying caulk can be quite a hassle. Hence, try to maintain the current seal in good quality as long as possible.
Outro:
Now that you know how to waterproof outdoor lights correctly, there are many chances to apply this flexible method for future installments! As a summary of the post, there are five simple steps for you to follow: Clean the outdoor lights, layout the prep, waterproof the fixture, smooth out the caulk, and clean it all up.
Additionally, you can buy waterproof outdoor wall lights or waterproof outdoor fishing lights on the market to save your time. But it is always the best if you can make it your own!
